
You’ve booked the flights. You’ve saved 47 tabs of restaurants, museums, and viewpoints. Now you’re staring at a spreadsheet that looks like a ransom note — addresses everywhere, no sense of direction. You need a travel itinerary map maker that turns chaos into a route you can actually follow.
Why a Spreadsheet Fails at Trip Planning
A list of addresses doesn’t tell you what’s close to what. You might plan a morning at a museum on one side of town, then lunch 45 minutes away, then backtrack to the museum area for a 3 PM tour. That’s wasted time and energy.
Maps solve this. When you plot every stop on a single map, distances become obvious. You see clusters. You rearrange your day around geography, not just opening hours. The result? Fewer Ubers, less subway confusion, and more time actually enjoying your trip.
The best part? You don’t need expensive software. Google My Maps is free, runs in your browser, and syncs to your phone. I’ve used it for a 14-day Japan trip and a weekend in Lisbon. It works for both.
The 4-Step Process to Build Your Map

Step 1: Create a New Map in Google My Maps
Go to Google My Maps (mymaps.google.com). Click the red “+ Create a New Map” button. Give it a name like “Portugal 2026” or “Tokyo Food Trip.”
This opens a blank canvas with a search bar. You’ll see two layers by default — rename the first one “Day 1” and the second “Day 2.” Add more layers for each day of your trip. Each layer can be toggled on and off, so you only see one day at a time.
Step 2: Pin Every Stop
Search for a location in the search bar. Click “+ Add to map.” A pin drops. You can customize the pin color and icon — use different colors for restaurants, attractions, and hotels.
For each pin, add a note in the description box. Include the address, phone number, reservation details, and a link to the website. This turns your map into a living document. You’ll never dig through emails for that dinner booking again.
Step 3: Draw Your Route
Click the “Draw a line” tool (the zigzag icon below the search bar). Select “Add a driving route.” Click your first stop, then your second, then your third. Google draws the driving path and shows the total distance and time.
Do this for each day. You’ll immediately see if Day 3 has you crisscrossing the city four times. Adjust the order of stops until the route makes sense. This is where the real time-saving happens.
Step 4: Share and Access Offline
Click the “Share” button. Change the sharing settings to “Anyone with the link can view.” Send the link to your travel buddies. Everyone sees the same map.
On your phone, open Google Maps, tap your profile picture, select “Your Places,” then “Maps.” Your custom map appears there. You can access it even with limited data — just download the area in Google Maps before you leave.
What to Do When Your Map Gets Too Big
A 10-day trip with 50 pins becomes overwhelming. Suddenly you’re scrolling through layers, trying to remember why you pinned a random bakery in a suburb you’re not even visiting.
Here’s the fix: create one master map for the whole trip, then duplicate it for each day. To duplicate, open your master map, click the three dots next to the title, select “Copy map.” Rename it “Day 3 — Lisbon.” Delete every pin except the ones for that day. Now you have a clean, focused view.
I do this for every trip longer than 5 days. The master map holds everything — backup restaurants, distant viewpoints, shopping streets. The daily maps are lean. I only look at the daily map when I’m out the door.
Another common mistake: pinning too many restaurants. You don’t need 12 backup dinner spots. Pick two per meal max. One primary, one backup. Everything else gets deleted or moved to a “Maybe” layer that stays hidden until you need it.
3 Free Tools That Do the Heavy Lifting

| Tool | Best For | Price | Key Limitation |
|---|---|---|---|
| Google My Maps | Full itinerary mapping with layers | Free | No automatic route optimization |
| Roadtrippers | Road trips with points of interest along the way | Free (basic) / $29.99/year (plus) | Limited to 7 stops on free plan |
| Rome2rio | Multi-city transport connections | Free | No map customization — just routes |
Google My Maps wins for most trips because it’s free, fully customizable, and works offline. Roadtrippers is better if you’re driving across the US and want to find quirky attractions along your route. Rome2rio is useful for the planning phase — plug in your cities, see all transport options, then build your final map in My Maps.
The One Mistake That Wrecks Your Map
You spend hours pinning everything. The map looks perfect. Then you arrive at your hotel, open the map, and… none of the pins have addresses. Just names. You tap a pin, and it shows a generic Google Maps result with no context. Now you’re standing on a street corner, phone in hand, trying to remember which of the five ramen shops you actually booked.
The fix is boring but essential: add the address and a note to every single pin while you’re building the map. Do it immediately after dropping the pin. Don’t tell yourself you’ll do it later. You won’t.
Set a rule: no pin gets placed without at least the street address and one piece of context (“reservation at 7 PM under Smith” or “cash only — bring €20”). This takes an extra 10 seconds per pin and saves you 10 minutes of frustration per day on the road.
When a Map Isn’t the Answer
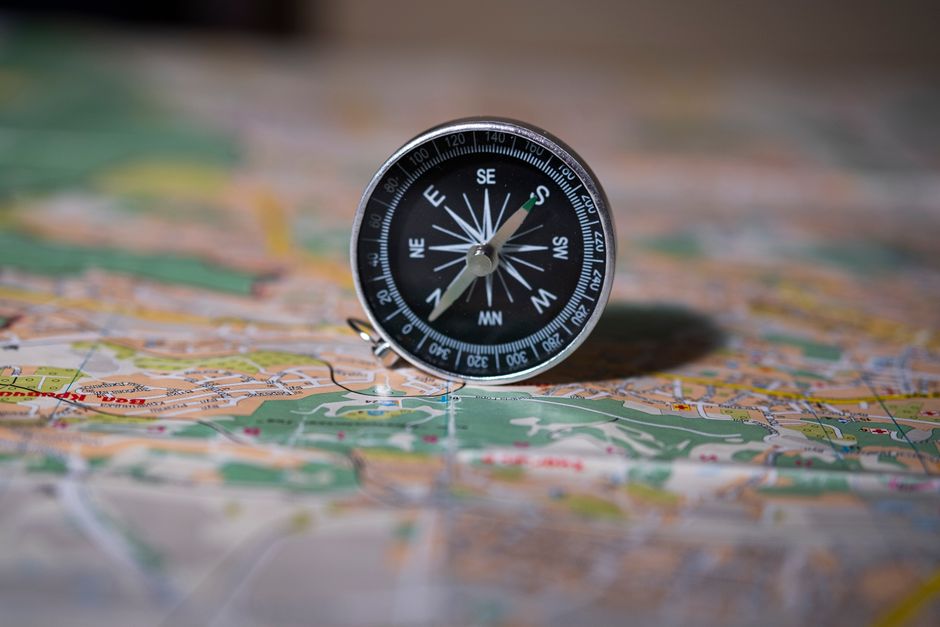
Maps are great for city trips and road trips. They’re terrible for certain situations.
If you’re doing a guided tour where everything is arranged for you, a map is overkill. Your tour operator handles logistics. You just need to know where to meet the bus in the morning.
If you’re visiting one major attraction per day (like a national park or a resort), a map with two pins is pointless. Use a simple checklist instead.
If you’re traveling with someone who hates planning, don’t show them the map. They’ll feel locked in. Keep the map to yourself and suggest options verbally. “We’re near the market — want to grab lunch?” works better than “According to pin 37, we have a 12:30 reservation at…”
For everyone else — independent travelers, backpackers, family trip planners, digital nomads — a custom map is the single most useful planning tool you can build. It turns a pile of links into a route you can actually walk.
Build Your Map Tonight, Not Next Week
Open Google My Maps right now. Create a new map. Drop three pins for your next trip — your hotel, one attraction, one restaurant. Add addresses. Draw the route between them. That’s 10 minutes, and you’ve already saved yourself from walking in the wrong direction tomorrow.
For a longer trip, repeat the process for each day. Use different colored pins for categories. Keep your daily maps separate. And never skip the notes — that’s the difference between a map you use and a map you ignore.