You booked the flight to Delhi. You told everyone about the Taj Mahal. Then you open the visa website and realize the application asks for your father’s birthplace, your last three employers, and a photo with specific pixel dimensions you’ve never heard of. This guide walks through the exact process so you don’t get a rejection email three days before departure.
The India e-Visa system has changed significantly over the years. What worked in 2019 will not necessarily work in 2026. Here is what actually matters.
1. The Four e-Visa Types: Pick Wrong and You Start Over
India issues several e-Visa categories. Choosing the wrong one is the single most common reason applications get rejected before review even begins. Here is the breakdown.
| Visa Type | Duration | Entries | Best For |
|---|---|---|---|
| e-Tourist Visa (30 days) | 30 days from arrival | Double entry | Short trips, single city visits |
| e-Tourist Visa (1 year) | 365 days from issuance | Multiple entry | Multiple trips in one year |
| e-Tourist Visa (5 years) | 5 years from issuance | Multiple entry | Frequent travelers, business-adjacent visits |
| e-Business Visa | 1 year | Multiple entry | Meetings, conferences, trade fairs |
| e-Medical Visa | 60 days | Triple entry | Medical treatment at recognized hospitals |
Critical distinction: The 30-day e-Tourist Visa starts counting from your date of arrival in India. The 1-year and 5-year e-Tourist Visas start counting from the date the visa is issued. If you apply for a 1-year visa two months before your trip, you lose two months of validity before you even land. For a single trip, the 30-day visa is almost always the right choice.
The e-Business Visa requires a business card and an invitation letter from the Indian company. Do not apply for this as a shortcut if you are a tourist. Immigration officers at the airport check your stated purpose against your visa category, and mismatches trigger secondary questioning.
2. The Application Portal: What to Prepare Before You Start
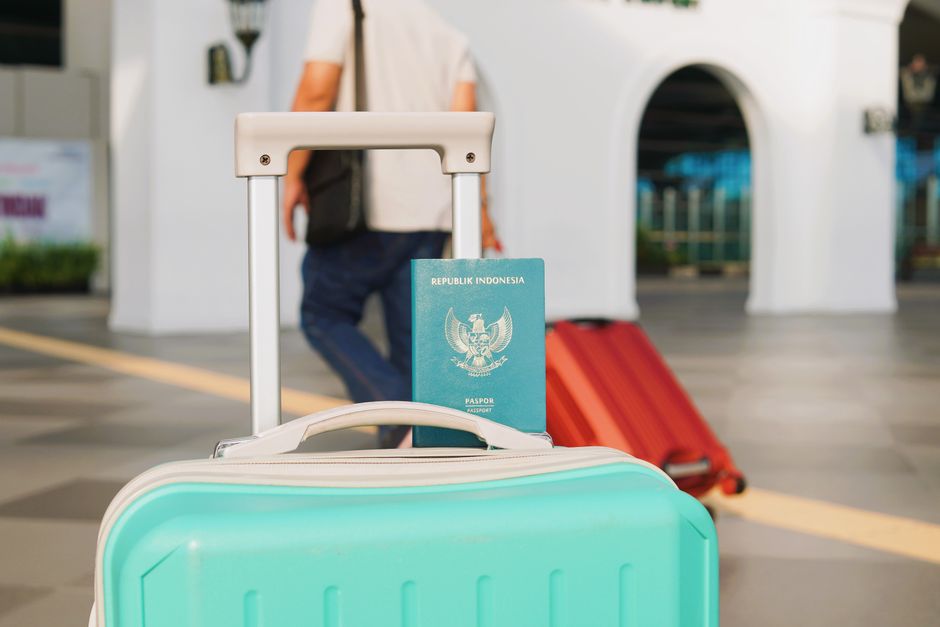
You will apply through the official government portal at indianvisaonline.gov.in. Not a third-party site. Not an agency. The official portal charges exactly the government fee. Agencies charge $50 to $200 extra for the same form.
Before you sit down to fill out the form, gather these items:
- Passport with at least 6 months validity from your arrival date and at least 2 blank pages
- Passport-style photo as a JPEG file, 350×350 pixels minimum, between 10KB and 1MB
- Passport bio page scan as a PDF, between 10KB and 300KB
- Credit or debit card for the fee (Visa, Mastercard, or American Express)
- Travel itinerary including your first night’s accommodation address in India
The photo requirements trip up more applicants than any other single element. The photo must be square, in color, on a white or light background, with your full face visible from chin to top of head. No shadows. No glasses. No head coverings except for religious reasons. The system will auto-reject files that do not meet the pixel dimensions. Use a free tool like Canva or an online passport photo cropper to resize your existing photo to exactly 350×350 pixels before uploading.
3. Step-by-Step: Filling Out the Form Without Errors
The application form has roughly 30 fields across 5 pages. Here is the exact sequence and what to enter where.
Step 1: Visa Type and Personal Details
Select your visa type first. Then enter your name exactly as it appears in the machine-readable zone of your passport. This means: if your passport says “SURNAME GIVENNAME MIDDLENAME” with no commas, enter it that way. Do not add spaces where the passport has none. Do not omit a middle name that appears on the passport.
Step 2: Passport Details
Enter your passport number, issue date, expiry date, and place of issue. The place of issue must match the “Authority” field printed on your passport. If your passport says “United States Department of State,” enter that. Do not enter “USA” or “Washington.”
Step 3: Address and Contact Information
Enter your current residential address. This does not need to match any address on your passport. Enter a phone number you can actually answer. If the visa office calls to verify something and you don’t pick up, your application can be delayed indefinitely.
Step 4: Family Details
You must enter your father’s full name, your mother’s full name, and your spouse’s name if applicable. If your parent is deceased, enter their name anyway. Do not enter “N/A” or “Deceased.” The form requires a name.
Step 5: Travel Details
Enter your expected date of arrival, the city of your first port of entry, and the address of where you will stay. For the address, the name of your first hotel plus its city is sufficient. If you are staying with friends, enter their full address including postal code.
Step 6: Upload Documents
Upload your photo and passport scan. The system will show a preview. Check the photo is not stretched, cropped incorrectly, or showing your shoulders only. If it looks wrong, fix it before submitting. You cannot change documents after payment.
Step 7: Payment
The fee depends on your nationality. For US citizens, the 30-day e-Tourist Visa costs approximately $25 plus a 2.5% processing fee. For UK citizens, it is around £40. For most EU citizens, it ranges from €25 to €80. The 1-year and 5-year visas cost more. Pay only on the official portal. The payment page will show “Bharatkosh” or “SBIePay” as the payment gateway.
4. The Photo and Document Specs That Get People Rejected
I have seen applications rejected for a photo where the person was smiling too widely. I have seen rejections for passport scans that cut off the bottom line of the machine-readable zone. Here are the exact specs.
Photo specifications:
- Format: JPEG only
- Size: Minimum 350×350 pixels, maximum 1000×1000 pixels
- File size: Minimum 10KB, maximum 1MB
- Background: Plain white or very light gray
- Face: Centered, covering 60-70% of the frame
- Expression: Neutral, mouth closed, eyes open
Passport scan specifications:
- Format: PDF only
- File size: Minimum 10KB, maximum 300KB
- Content: Full bio page including the machine-readable zone at the bottom
- Clarity: Every character legible when zoomed to 100%
If your passport scan is a photo taken on your phone, convert it to PDF using a free tool like Adobe Scan or the built-in scanner in the Notes app on iPhone. Do not upload a photo of your passport as a JPEG. The system requires PDF for the passport scan and JPEG for the photo. Mixing these up causes an instant rejection.
5. Seven Common Mistakes That Delay or Kill Your Application
Here is the list of what actually goes wrong. Fix these before you submit.
- Name mismatch with passport. The system checks your name against the passport database. Any difference, including a missing hyphen or an extra space, triggers a manual review. Manual review takes weeks.
- Wrong visa category. Applying for a business visa when you are a tourist. The invitation letter requirement will force you to abandon the application and start over.
- Expired passport or insufficient blank pages. The system may not catch this, but the immigration officer at the airport will. You will be denied boarding.
- Applying too early. The 30-day e-Tourist Visa must be used within 30 days of issuance. If you apply 60 days before your trip, your visa expires before you fly. Apply no more than 30 days before arrival for the 30-day visa.
- Applying too late. The official processing time is 72 hours, but during peak season (October to March), it can stretch to 5-7 business days. Apply at least 2 weeks before departure.
- Using a third-party site that submits wrong information. Some agencies retype your details into the official form and introduce typos. If you must use an agency, verify every field on the final PDF before they submit.
- Ignoring the email confirmation. After submission, you receive an Application ID. You need this to check status and download the final e-Visa. Without it, you cannot retrieve your visa.
6. After You Submit: Tracking, Approval, and What to Print
After payment, you will see a confirmation page with your Application ID and a status of “Pending.” The status updates on the official portal under the “Check Visa Status” tab. You do not need to create an account to check status. Enter your Application ID and passport number.
When approved, you will receive an email with a link to download your e-Visa as a PDF. Print at least two copies. Carry one in your carry-on and one in your checked luggage. Also save the PDF to your phone. The immigration officer at the airport will scan the QR code on your printed e-Visa. A digital copy on your phone is acceptable at most airports, but a paper copy is faster and works even if your phone dies.
At immigration, the officer will take your fingerprints and a photo. They will ask for your return ticket and sometimes proof of accommodation. Have your first night’s hotel booking confirmation accessible.
7. The Most Important Takeaway
Apply on the official portal, use the 30-day e-Tourist Visa for single trips, match your name exactly to your passport, and submit a square 350×350 JPEG photo on a white background — do those four things and your application will almost certainly be approved within 72 hours.
The single most important takeaway: the India e-Visa system rejects applications for small, fixable errors, not for who you are — so slow down, match every field to your passport, and apply at least two weeks before departure.